Creating a pinch pot is a timeless and enjoyable craft that both beginners and experienced potters can enjoy. This guide will walk you through the steps to make a pinch pot, providing tips and techniques to help you master the art of pinch pottery.
Materials you will need

Before you begin making pinch pots, gather the following materials:
- Clay (air dry clay, suitable for hand-building)
- A small cup of water
- A little slip (clay mixed with water to a creamy consistency)
- Acrylic paints
- A table or a flat surface
- Tools for shaping and smoothing (optional)
A step-by-step guide to making a pinch pot

1 - Preparing the clay
Begin by preparing your clay. If you're using air-dry clay, ensure it's soft and pliable. Roll the clay into a ball about the size of a lemon.
2 - Forming the ball
Hold the ball of clay in one hand and gently press your thumb into the center to create an indentation. This is the start of your pinch pot.
3 - Pinching the walls
With your thumb in the middle of the ball, gently pinch the clay between your thumb and fingers. Rotate the clay as you pinch, gradually widening the opening and thinning the walls. This technique is the essence of making pinch pots.
4 - Shaping the pot
Continue to shape the clay by pinching it until the walls reach the desired thickness, typically about 1/4 inch. Ensure the pot is symmetrical by rotating it as you work.
5 - Smoothing the surface
Once you've achieved the desired shape, smooth the surface of the pot with your fingers. You can use a little water to help with this process, but be careful not to use too much, as it can make the clay too soft and prone to cracking.
6 - Adding texture and patterns
To add a personal touch to your pinch pot, you can use tools to create texture and patterns on the surface. This step is optional but can make your pinch pots more interesting and unique.
7 - Drying the pot
Allow your pinch pot to air dry completely. If you're using air-drying clay, this can take several hours to a few days, depending on the size and thickness of the pot. Ensure the clay dries at the right temperature to avoid cracking.
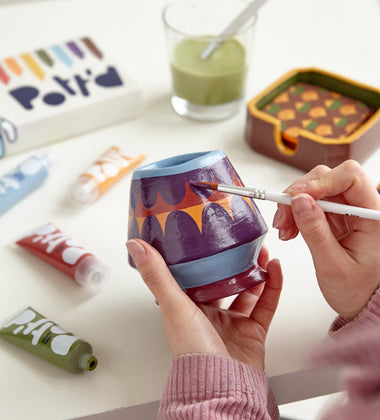
8 - Painting and decorating
Once the clay is fully dry, you can decorate your pinch pot with acrylic paints. This step is optional but adds a fun and colorful element to your pottery. You can also use paint pens to easily get into the nooks and crannies.
9. Sealing and finishing
To protect your pinch pot and give it a finished look, you can apply a clear glaze or sealant. This step is particularly important if you plan to use the pot to hold liquids.
Tips for successful pinch pots
- Hot hands: Warm hands can cause the clay to dry out quickly. Keep a small cup of water nearby to moisten your hands as needed.
- Cracks: If cracks appear while shaping the pot, smooth them out with a little slip.
- Beginners: Pinch pottery is a great activity for beginners. Start with simple shapes and gradually experiment with more complex designs.
- Kids: Making pinch pots is a fun and educational activity for kids. It helps develop their fine motor skills and creativity.
Advanced techniques
Once you master the basic pinch pot, you can experiment with more advanced techniques:
1 - Creating thumb pots
Thumb pots are small pinch pots made by pressing the thumb into a smaller ball of clay. These can be used for tiny planters or decorative items.
2 - Combining pinch pots
You can combine two pinch pots to create a hollow sphere or other complex shapes. Score the edges of the pots, apply slip, and press them together.
3 - Adding handles and feet
You can add handles or feet to your pinch pots for added functionality and aesthetic appeal. Use small coils of clay to form these features and attach them with a slip.
Fun ideas for pinch pot projects
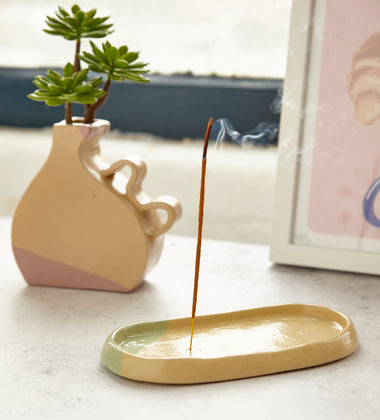
- Planters: Make a pinch pot planter for succulents or small plants.
- Bowls and cups: Create bowls or cups for serving snacks or holding trinkets.
- Decorative items: Craft cute decorative items like animals or abstract shapes.
- Art projects: Use pinch pots in larger art projects, combining multiple pieces to form intricate sculptures.
See more: Simple and fun ideas using air-dry clay
Final thoughts
Pinch pottery is a versatile and enjoyable craft suitable for all ages. Whether you're creating a basic pinch pot or experimenting with advanced techniques, the process is both relaxing and rewarding. Don't worry if your first few pots aren't perfect; with practice, you'll develop your skills and create beautiful, unique ceramics. So grab some clay, start working, and let your creativity flow!


